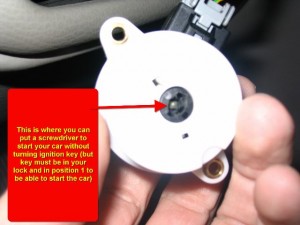
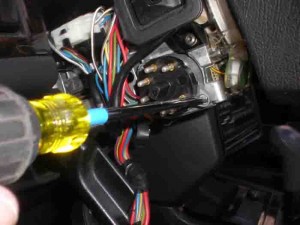
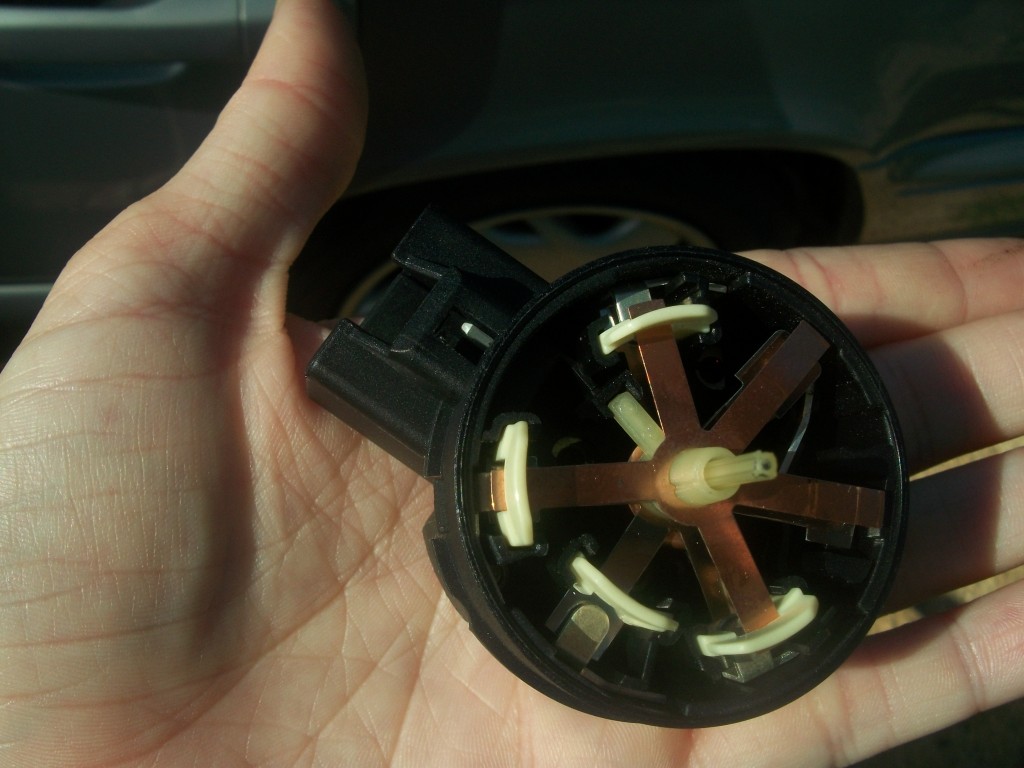
Volvo 850 Ignition Switch Replacement
How To Change The Ignition Switch on a Volvo 850
By NYC-Volvo
SOURCE: http://www.matthewsvolvosite.com/forums/viewtopic.php?f=1&t=37398
I just changed the ignition switch in my 1996 850 R, and I’d like to share the process with you. I’ve taken photos to make it easier for you to follow along. I rate this job as easy. I am not a mechanic, but I am handy. This repair took me 18 minutes from start to finish. So that 18 minutes includes the time it took me to gather my tools, go outside to the car, do the repair, take photos, clean everything up, and put my tools away. 18 minutes… it was much quicker that I expected.
Tools you will need
· Slotted screwdriver
· #25 Torx driver (the shank must be at least 3.75”)
Prepare your work area
· Move the seat back
· Adjust the steering column all the way out and down
· Make sure the engine is not running and the key is in the off position
Instructions
The following photo shows the underside of the steering column…
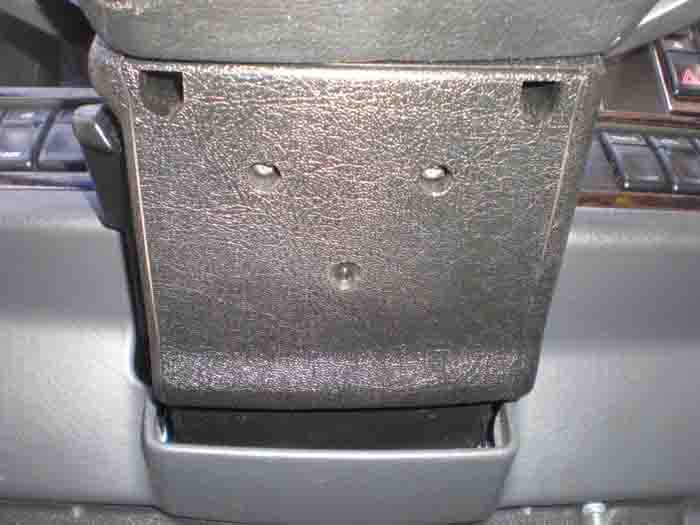
There are four #25 torx screws that hold both the lower and the upper cover to the steering column. You cannot see the upper cover in this photo, all four screws are accessed via the lower cover. The red circles show where the screws are for the removal of the upper cover. The yellow circles show the screws that hold the lower cover. Please take note that the screws for the upper cover are recessed, and you will need a #25 torx driver with a minimum of 3.75 inches of shank to reach in.

First remove the two screws holding the upper cover, and lift the upper cover up to remove it…
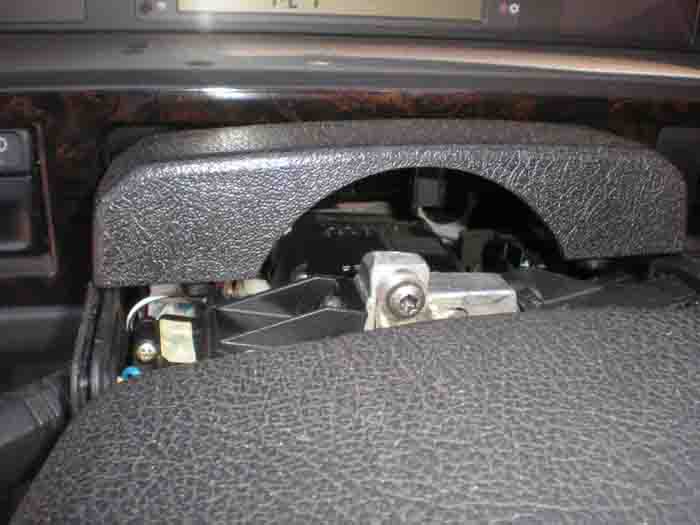
Remove the two screws holding the lower cover. To remove the lower cover, you will need to lift it over the ignition key area as you pull the cover down. Once you have the lower cover off, you will have the necessary access needed for this job…
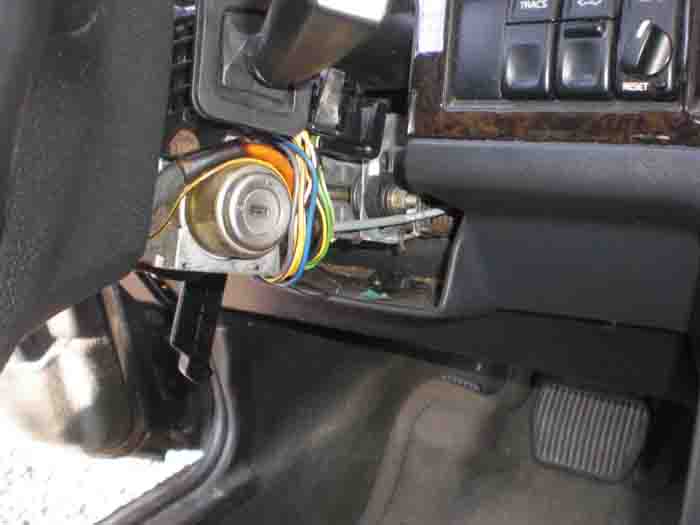
You are now ready to change the ignition switch…
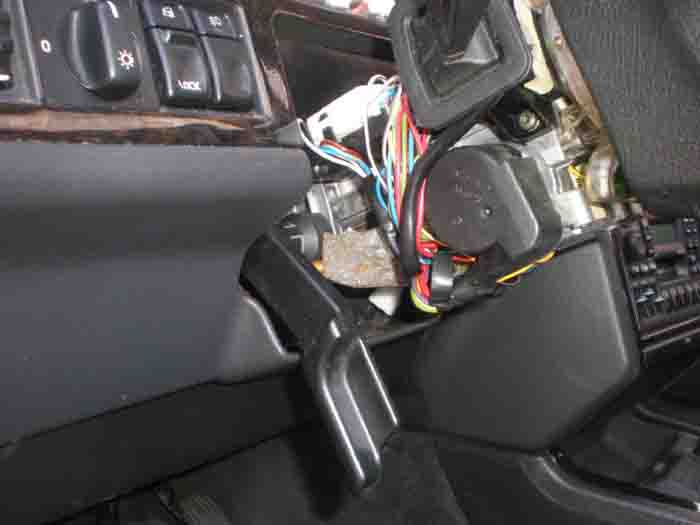
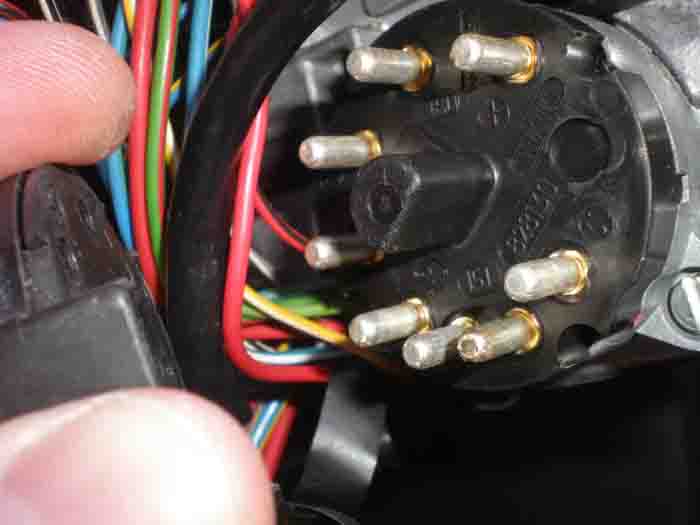
Next, remove the wiring conncetor from the ignition switch. I have circled the wiring connector in red…
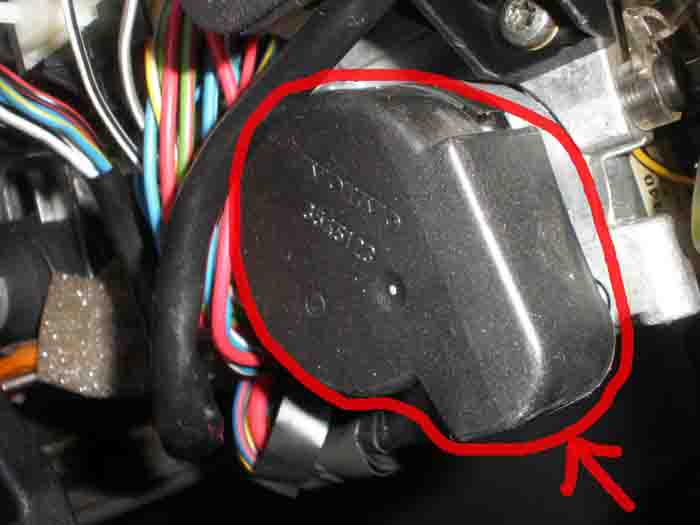
Hold the connector firmly and pull it out with a light rocking motion. Be careful not to damage the connector…
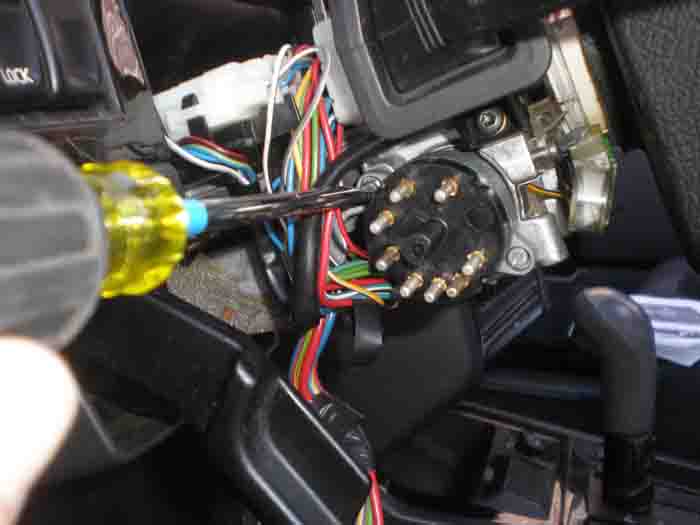
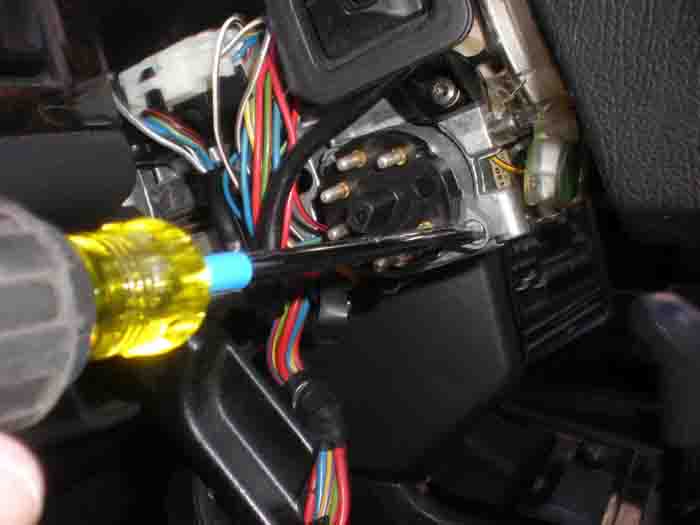
Next, using a slotted screwdriver, remove each of the two screws holding the switch in place…
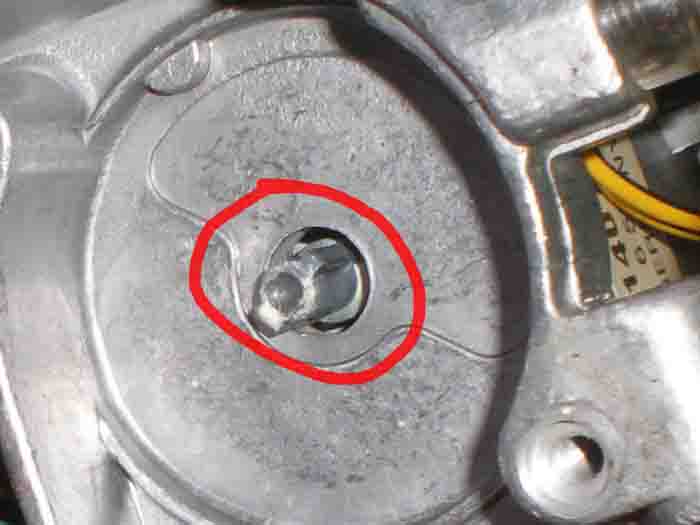
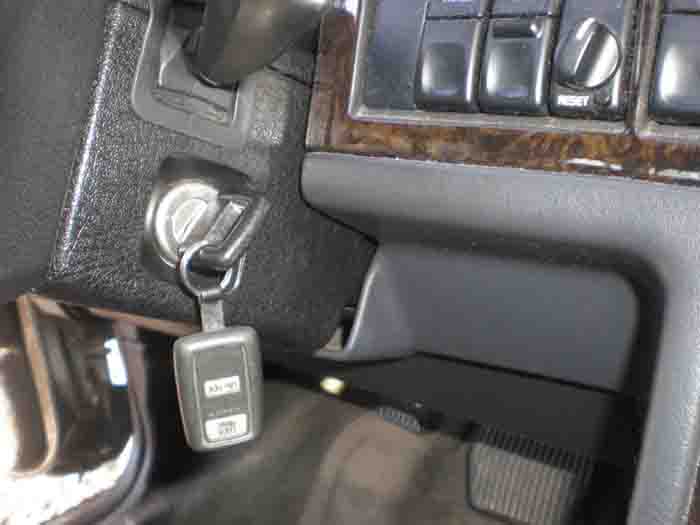
You are now ready to install the new switch. You need to ensure that the switch lines up with the position of the key. To do this, put the ignition key in the keyhole, put the new ignition switch in place and hold it witih one hand (do not screw it in yet), turn the key with the other hand until the key and the switch line up. You will know when it is lined up becuase the new switch will be seated firmly in place. Once everything is lined up, continue to hold the new switch in place, and remove the key from the ignition…
Secure the ignition switch with the two screws…
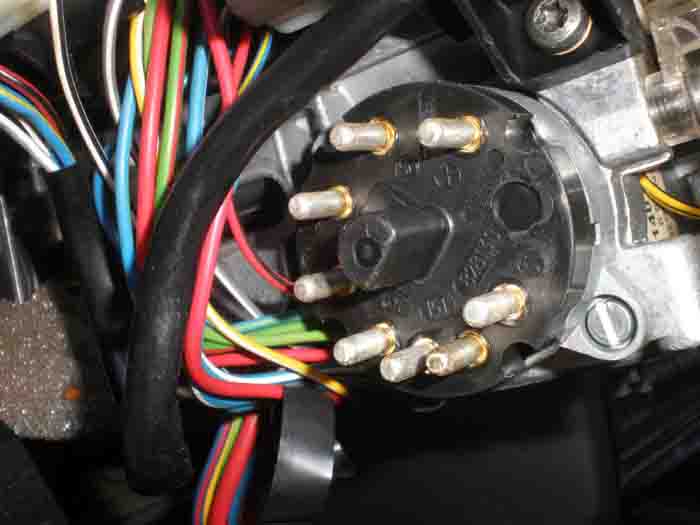
Reinstall the lower steering column cover. Be careful to get it into place over the ignition, and be sure to line up the rubber from the directional stalk and the wiper stalk. Fasten with two torx screws…
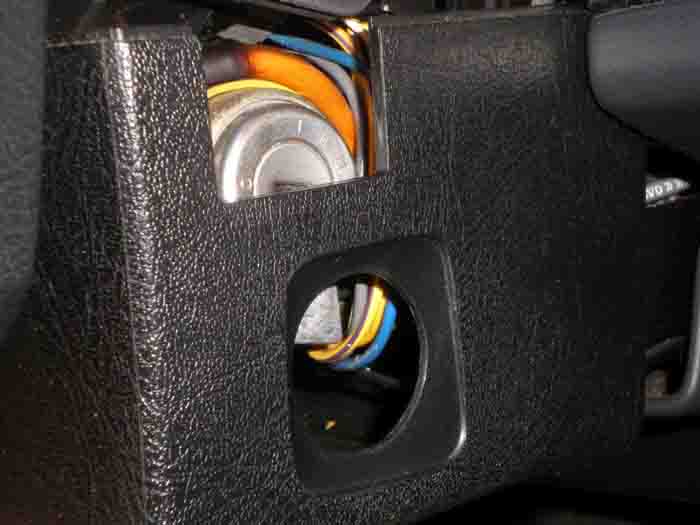
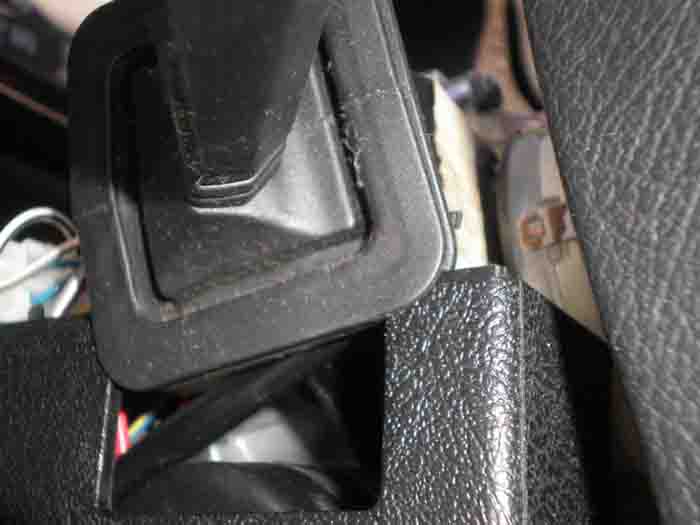
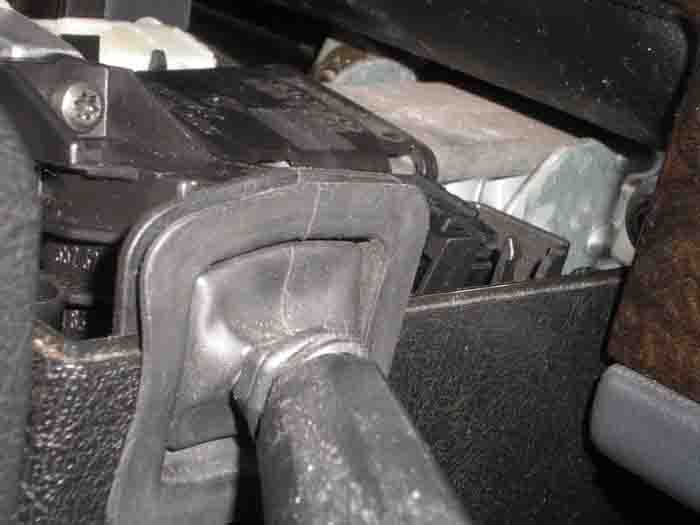
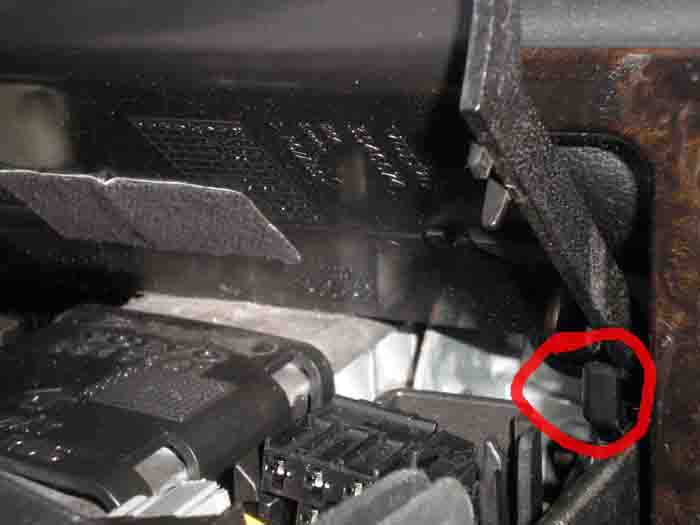
Reinstall the upper steering colum cover. Be sure to slide the rear of the cover in first and make sure it “hinges” (see below) so it will seat properly. Install the two screws to secure it in place…
![468-1[1]](https://ourvolvo.com/wp-content/uploads/2012/07/468-11.jpg)
